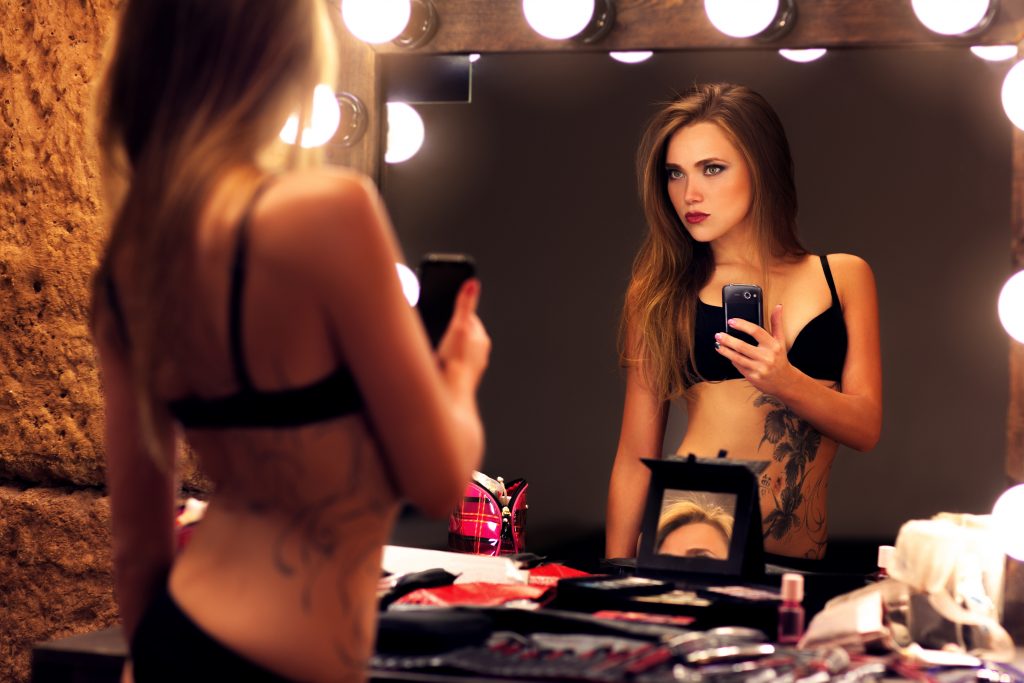
Hello Gorgeous! Here’s How to Use Portrait Mode on your iPhone
Your iPhone comes with a dizzying array of options when it comes to photography, but if there’s one you must learn to use it’s portrait mode. Portrait mode on iPhone can give you stunning results that will make your shot extra sharp without any background noise. When you take portrait mode photos with your iPhone camera, you can enhance your look and make the background fade away so that all eyes are where they belong…on you!

How do I use Portrait Mode?
Portrait mode is only one option on your iPhone camera, but when you choose it you will open up settings for lighting as well. Learning how to use portrait mode on your iPhone might seem a little daunting, but we’re here to help make it quick and easy to get the perfect shot.
Within Portrait Mode you can choose a bunch of different lighting options:
- Natural Light: Your face is outlined in sharp focus against a blurred background.
- Studio Light: Your face is brightly lit (think halo!), and the photo has a crisp, clean look.
- Contour Light: Put down the contour kit! This setting gives you dramatic shadows with highlights and lowlights.
- Stage Light: The face is spotlit against a deep black background.
- Stage Light Mono: Similar to Stage Light, but in classic black and white.
- High-Key Light Mono: Creates a grayscale subject on a white background.
Once you choose portrait mode, set up your shot from 2-8 feet away for optimal shooting success. Your camera will give you helpful suggestions for snagging the perfect shot by letting you know if the light is too low, or if you’re too close or far from the camera. iPhone 8 Plus and later will give you the option to swipe or tap the lighting cube to adjust your light.
Click! That’s it! It may take a few photoshoots to perfect your technique, but once you’ve got the hang of it, we promise that portrait mode will be your new can’t-live-without-it BFF.


